DTF (Direct To Film)
To see pricing, please create an account and login
DTF (Direct To Film)
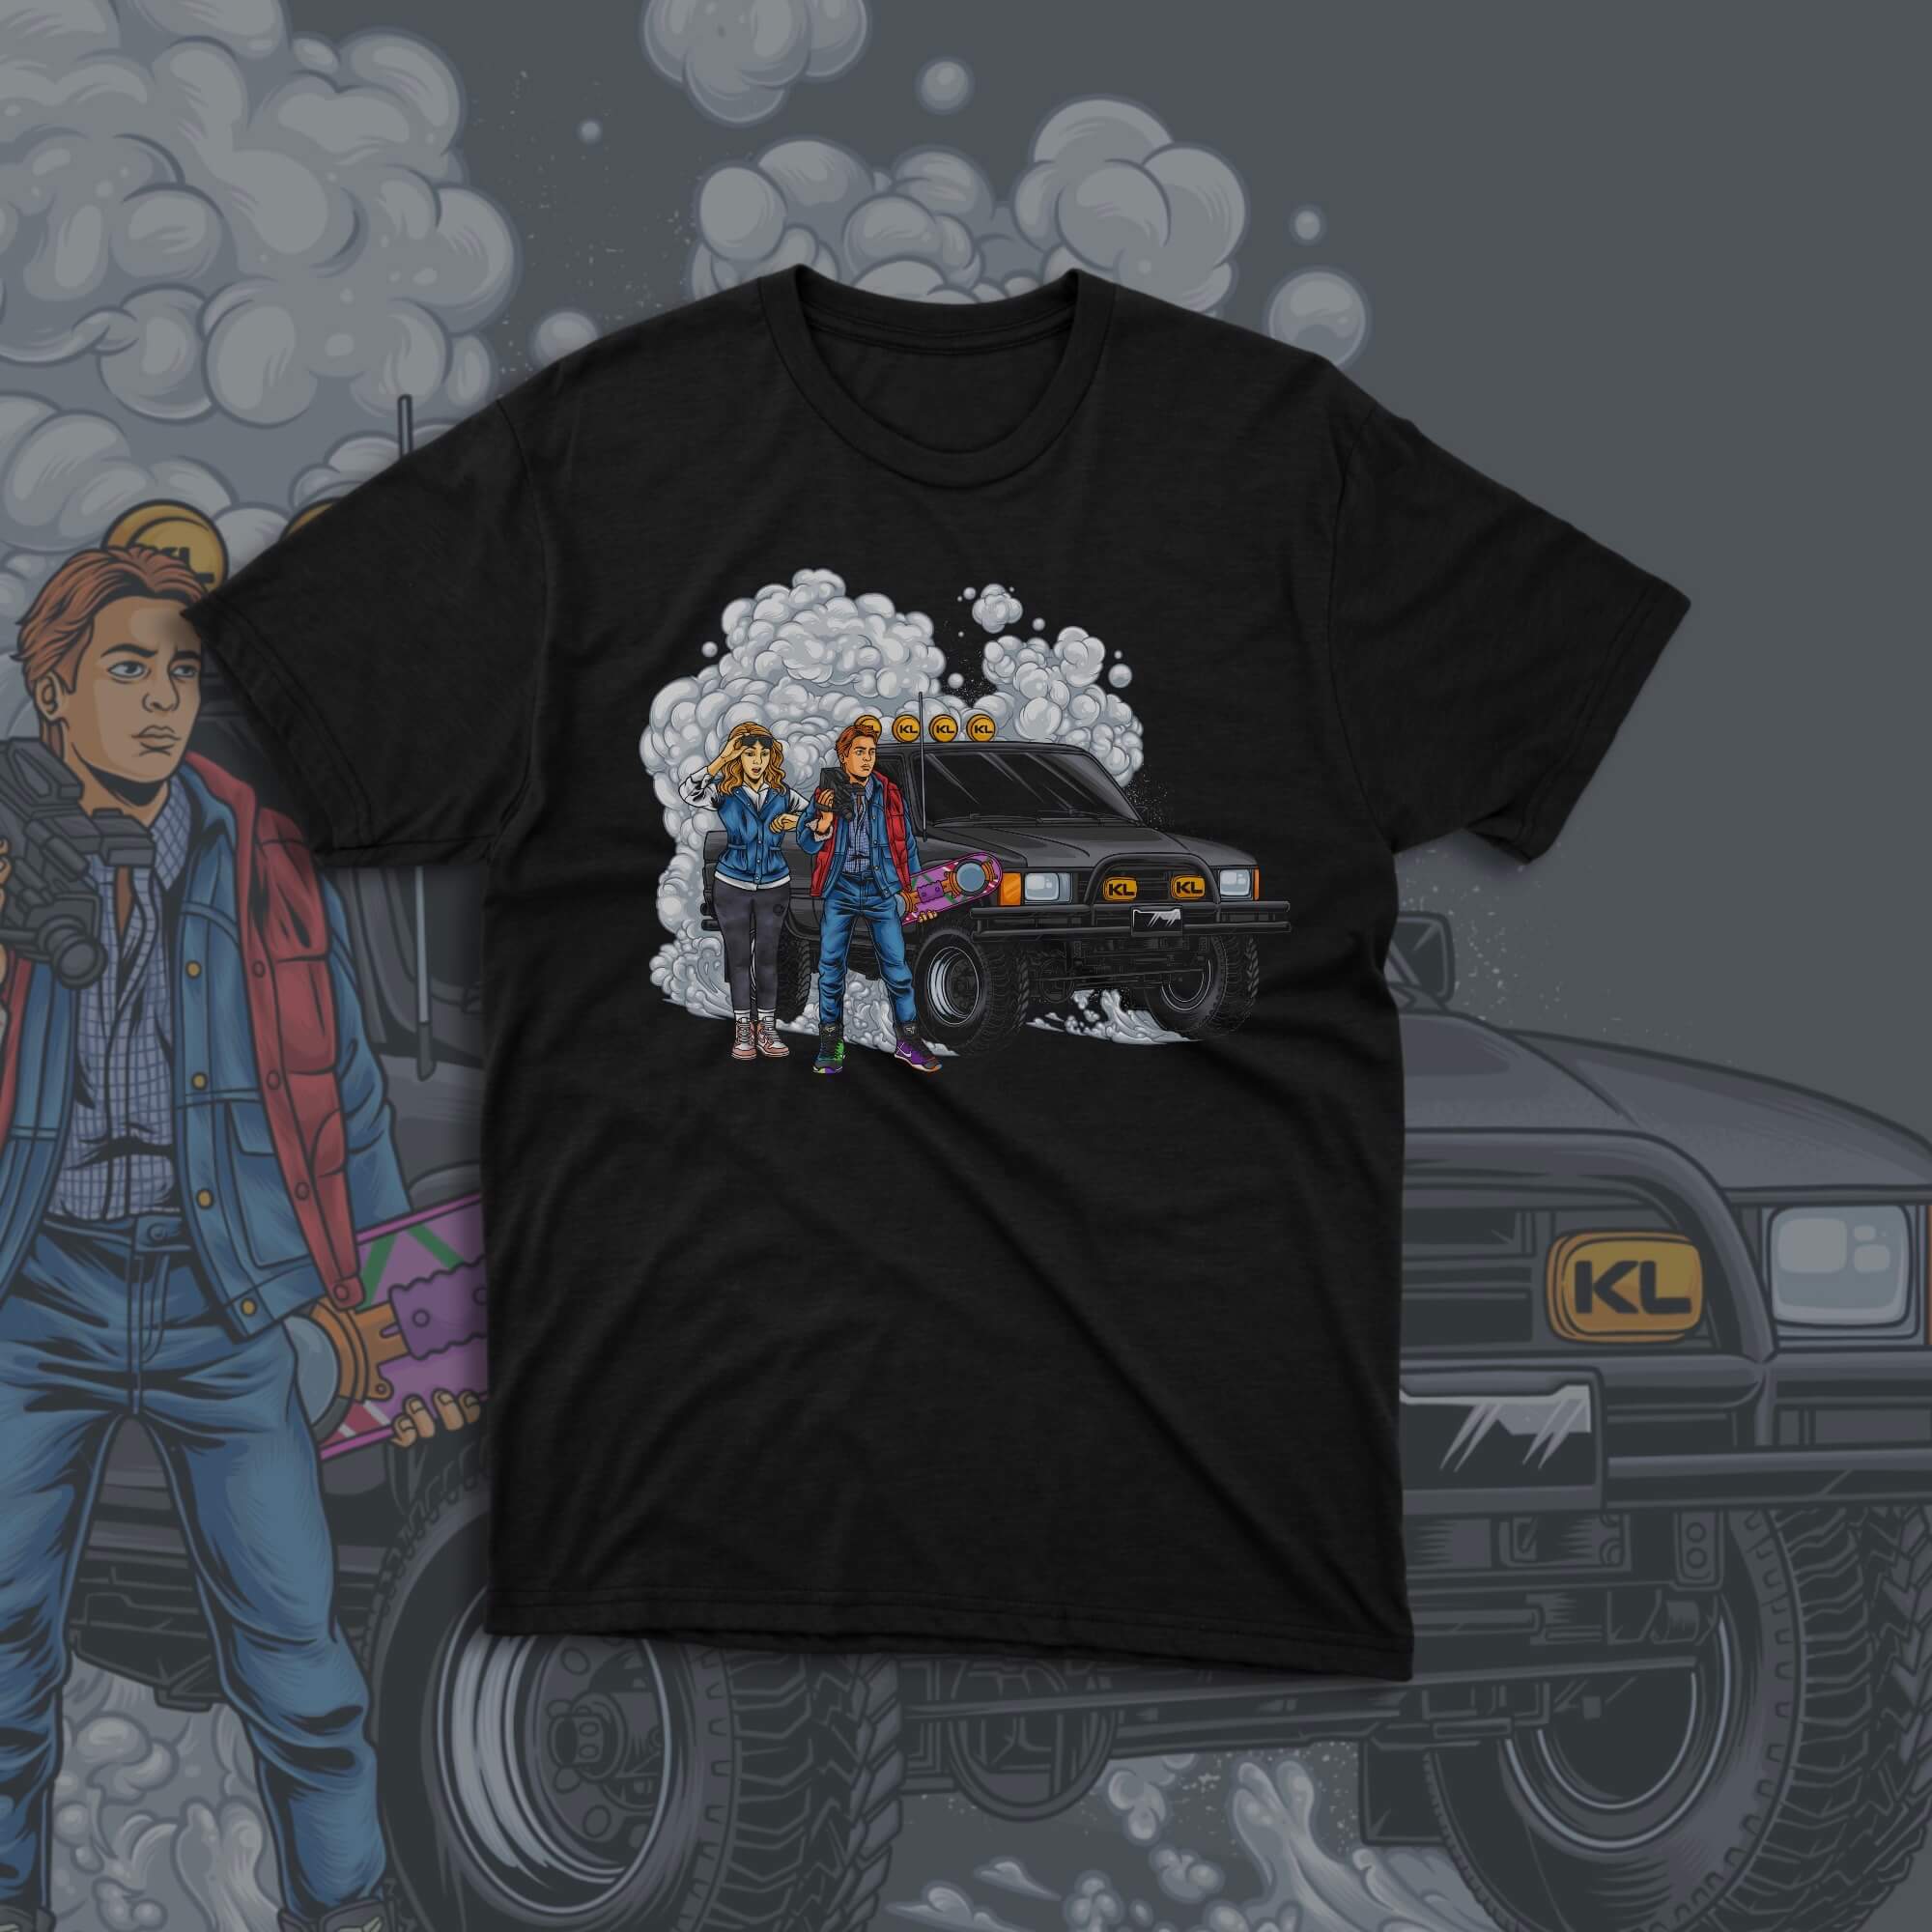
Looking for vibrant, long-lasting apparel prints? Our Direct-to-Film (DTF) printing technology delivers high-quality, full-colour transfers that adhere to various fabrics.
Looking for vibrant, long-lasting apparel prints? Our Direct-to-Film (DTF) printing technology delivers high-quality, full-colour transfers that adhere to various fabrics.
- High-Detail Printing – Sharp, durable, and fade-resistant.
- Works on All Fabrics – Cotton, polyester, blends, and more.
- No Minimum Orders – Whether it’s one shirt or a bulk order, we’ve got you covered.
Take your custom apparel to the next level—explore DTF printing today
How To Remove The Image's Background
The DTF Film Print uses the CMYK+White to print on the film. The JPG format image has white background. It will show on you print out film if we donot remove it. The logo below is JPG format image. It has white background around.
Quick Action Method:
- Open the image: Open your image in Photoshop and unlock the background layer.
- Find Quick Actions: In the Properties panel, under Quick Actions, click “Remove Background”.
- Refine the selection (optional): Use the Brush tool to clean up any areas where the background wasn’t completely removed.
- Replace the background (optional): Drag and drop a new image onto the canvas and move it behind the original image in the Layers panel.
- Finalize: Press Enter/Return to finalize the changes.
Manual Method (using the Eraser tool):
- Open the image: Open your image in Photoshop and unlock the background layer.
- Select the Eraser tool: Choose the Eraser tool (keyboard shortcut: E).
- Adjust brush settings: Choose the appropriate brush size and hardness for your needs.
- Erase the background: Carefully erase the background, paying attention to details like edges and fine lines.
Manual Method (using a clipping mask):
- Open the image: Open your image in Photoshop.
- Unlock the layer: Click the lock icon on the Background layer to unlock it.
- Select the area to keep: Use tools like the Pen tool or Magic Wand tool to select the subject you want to keep.
- Create a layer mask: Click the “Add layer mask” button at the bottom of the Layers panel.
- Refine the mask (optional): Use the Brush tool to refine the mask and clean up any areas where the selection wasn’t perfect.
Tips for better results:
Start with the quick action:
If it works well, use it. It’s the fastest way to remove a background.
Use layer masks:
Layer masks are non-destructive, meaning you can always go back and edit them.
Refine the edges:
Use the Brush tool with a soft edge to blend the edges of your subject into the new background.
Practice:
Removing backgrounds can be tricky, so practice with different images and methods to find what works best for you.
File Prep Instructions
Step 1
Ensure the file matches the product’s required dimensions. Ensure that the artwork is created in CMYK 300 dpi with 1/16 inch bleeds on all sides.
Step 2
Make sure that all images are embedded, and that all the text is outlined.
Step 3
Export all files into PDF format with bleeds.


ameenmulla4 –
I was surprised at how soft the print feels. It doesn’t have that thick or rubbery texture — really smooth and flexible on the shirt.
Hira Muhammad –
Was honestly surprised by how vibrant the colours came out. The print feels strong but not overly thick super impressed with the quality!